Pair a Display
The display is a TV or monitor in your waiting area that shows the live queue — which ticket numbers are currently being called and at which desk. It updates in real time and automatically announces called numbers.
Pairing steps
Section titled “Pairing steps”Pairing follows the same two-device handshake as the kiosk: the device requests a code and shows it on screen; you enter that code in admin to activate it.
Step 1 — request a code on the TV or monitor
Section titled “Step 1 — request a code on the TV or monitor”- On the device connected to the display, open a browser and navigate to
https://display.jonot.io/pair. - The display requests a pairing code and shows it on screen — a 7-character code like
K7M-4PQ, valid for 10 minutes.
Keep the screen visible. You will type this code into admin in the next step.
Step 2 — activate the device in admin
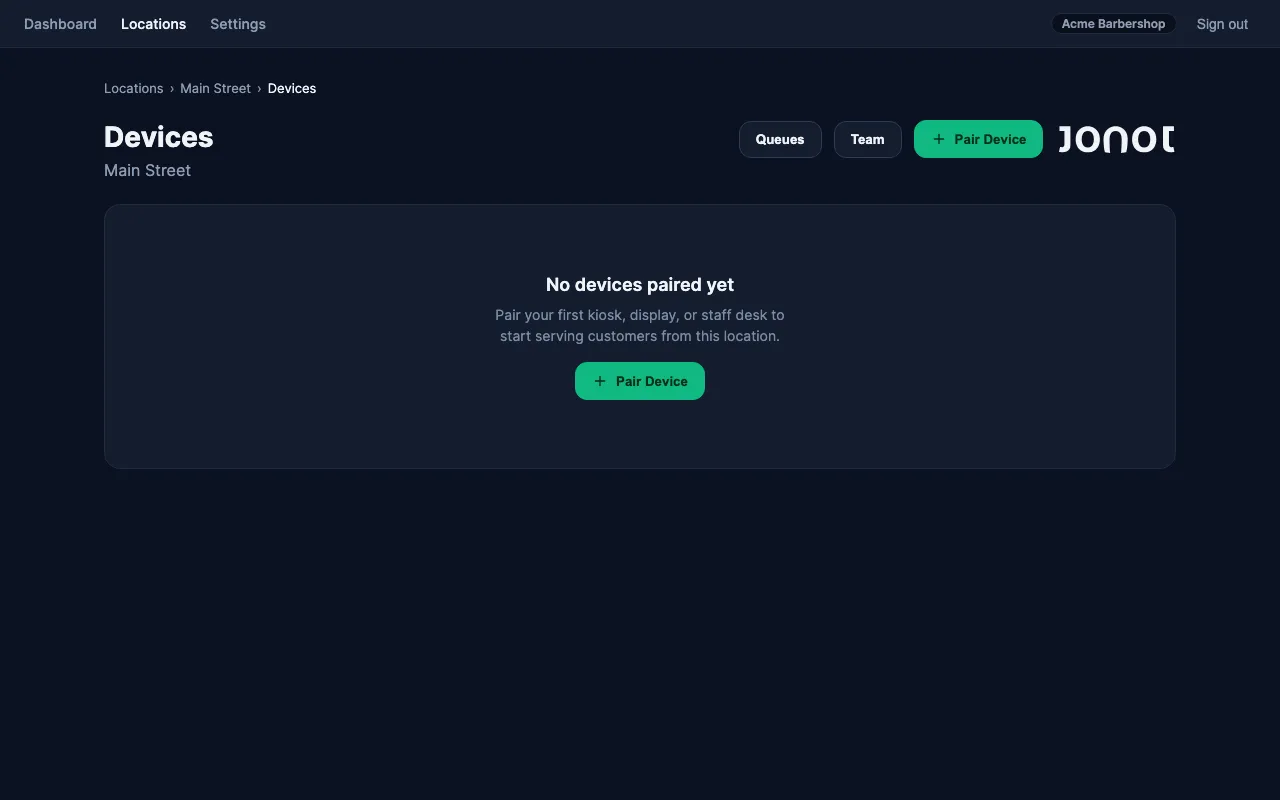
Section titled “Step 2 — activate the device in admin”- In admin, open your location and go to the Devices tab.
- Click Pair device and select Display as the device type.
- Optionally assign the display to a specific desk (the display will then show only that desk’s called tickets).
- Enter the 7-character code shown on the display screen.
- Click Activate. The display detects activation and begins showing the live queue.
If the code expires before you enter it in admin, go back to the display’s /pair page to request a new one.
Display assignment
Section titled “Display assignment”A display can be set to one of two modes:
- Assigned to a desk — shows only the tickets called by that specific desk. Useful when each desk has its own dedicated screen.
- Location view (unassigned) — shows all active calls across the entire location. Useful for a single shared screen in the waiting area.
If a display is assigned to a desk and that desk goes offline for more than 2 minutes, the display automatically falls back to the location view until the desk reconnects.