Pair a Kiosk
The kiosk is the tablet placed at your venue entrance. Customers tap it to join the queue and receive a printed ticket receipt. Pairing links the physical tablet to your location and queue in Jonot.
Pairing steps
Section titled “Pairing steps”Pairing is a two-device handshake: the tablet requests a code and displays it on screen; you enter that code in admin to activate it.
Step 1 — request a code on the tablet
Section titled “Step 1 — request a code on the tablet”- On the tablet that will serve as the kiosk, open a browser and go to
https://kiosk.jonot.io/pair. - The kiosk requests a pairing code and displays it on screen — a 7-character code like
K7M-4PQ, valid for 10 minutes.
Keep the tablet visible. You will type this code into admin in the next step.
Step 2 — activate the device in admin
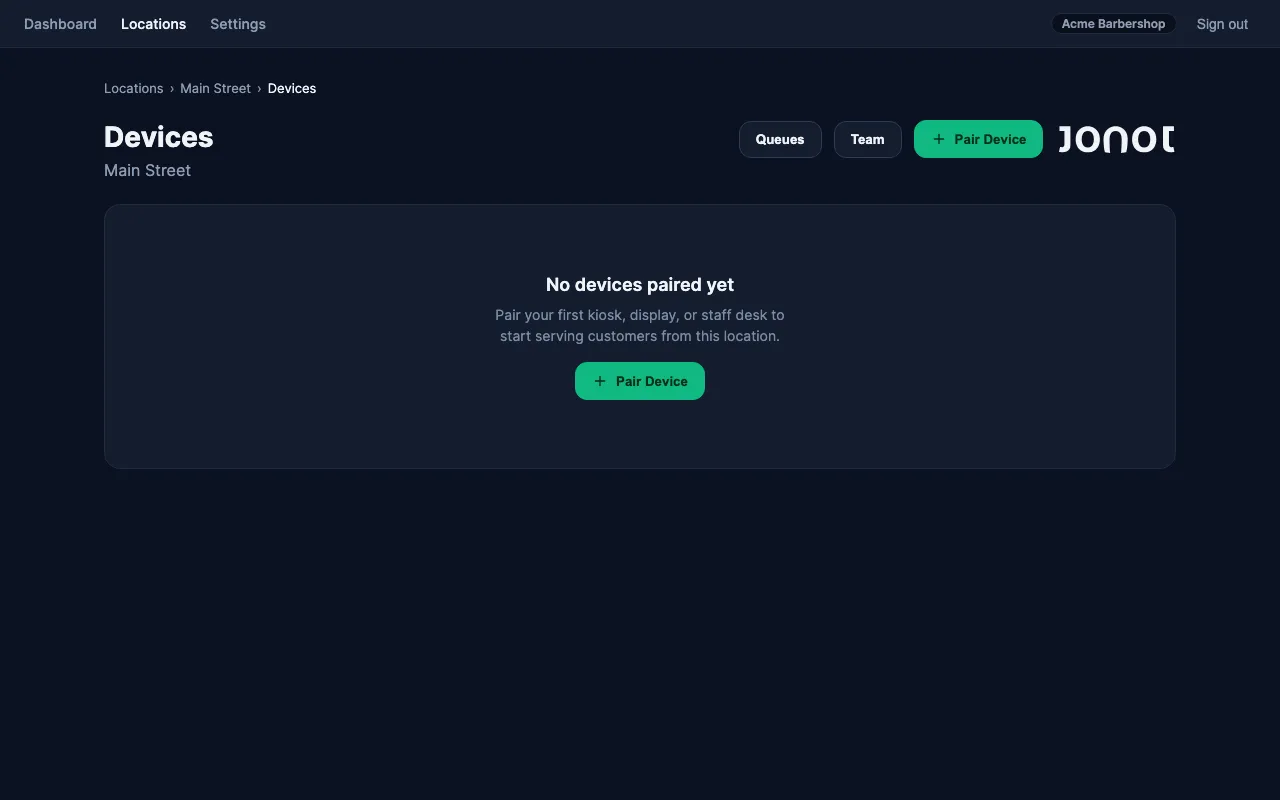
Section titled “Step 2 — activate the device in admin”- In admin, open your location and go to the Devices tab.
- Click Pair device and select Kiosk as the device type.
- Choose the queue this kiosk will serve.
- Enter the 7-character code shown on the tablet screen.
- Click Activate. The tablet detects activation and redirects to the queue view.
If the code expires before you enter it in admin, go back to the tablet’s /pair page to request a new one.
On Android, if no printer is bound yet, the kiosk will redirect to the printer setup screen first. You can also access printer setup later from the kiosk settings menu — see Customise the Kiosk for details.
After pairing
Section titled “After pairing”The kiosk appears in the Devices list with status Online. Customers can now tap the kiosk screen to join the queue.