
Add Your First Location
Phase B — set up your venue in Admin. After checkout, click Go to Admin Dashboard on the signup confirmation screen. This opens https://admin.jonot.io. A location represents a physical venue or branch and contains its queues and devices.
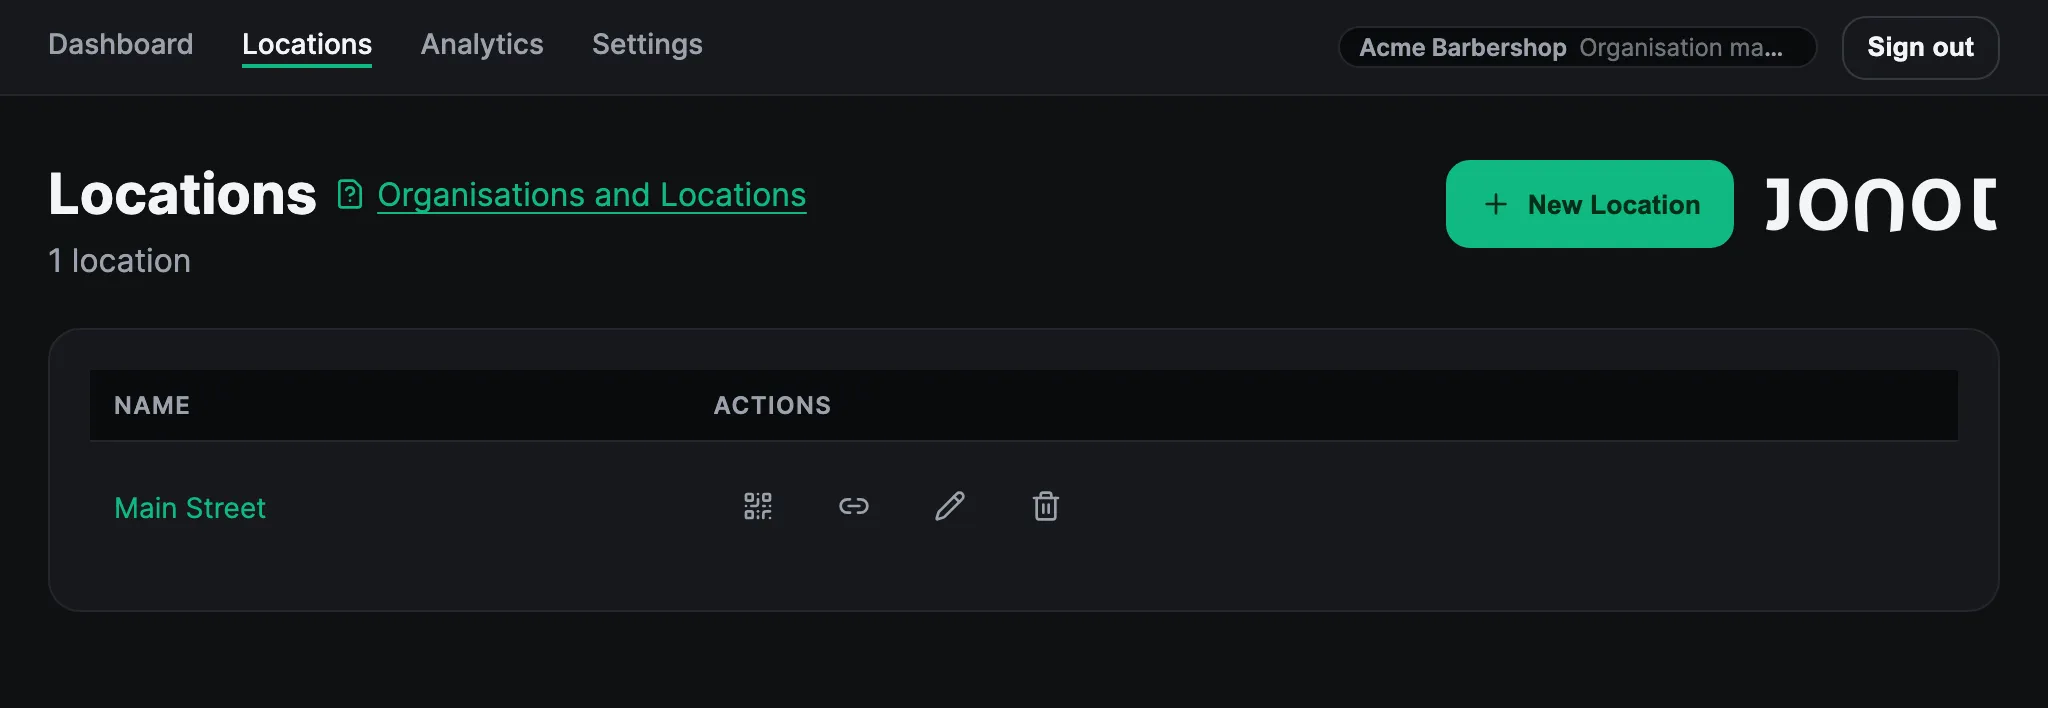
Create a location
Section titled “Create a location”- In the admin sidebar, go to Locations.
- Click New Location.
- Fill in the location details:
- Name (required) — the display name for this venue, such as “Main Street Branch”.
- Ticket header (optional, up to 48 characters) — printed at the top of every kiosk ticket. Use it for a welcome message or business name.
- Ticket footer (optional, up to 48 characters) — printed at the bottom of every ticket. Useful for contact details or a message for customers.
- Click Save. The location is created and you are taken to its detail page.
What comes next
Section titled “What comes next”After you create the location, you can add queues, pair devices, and invite staff. Each location has its own queues, paired kiosks, displays, desks, and staff members.